
Earwax Removal Hobart
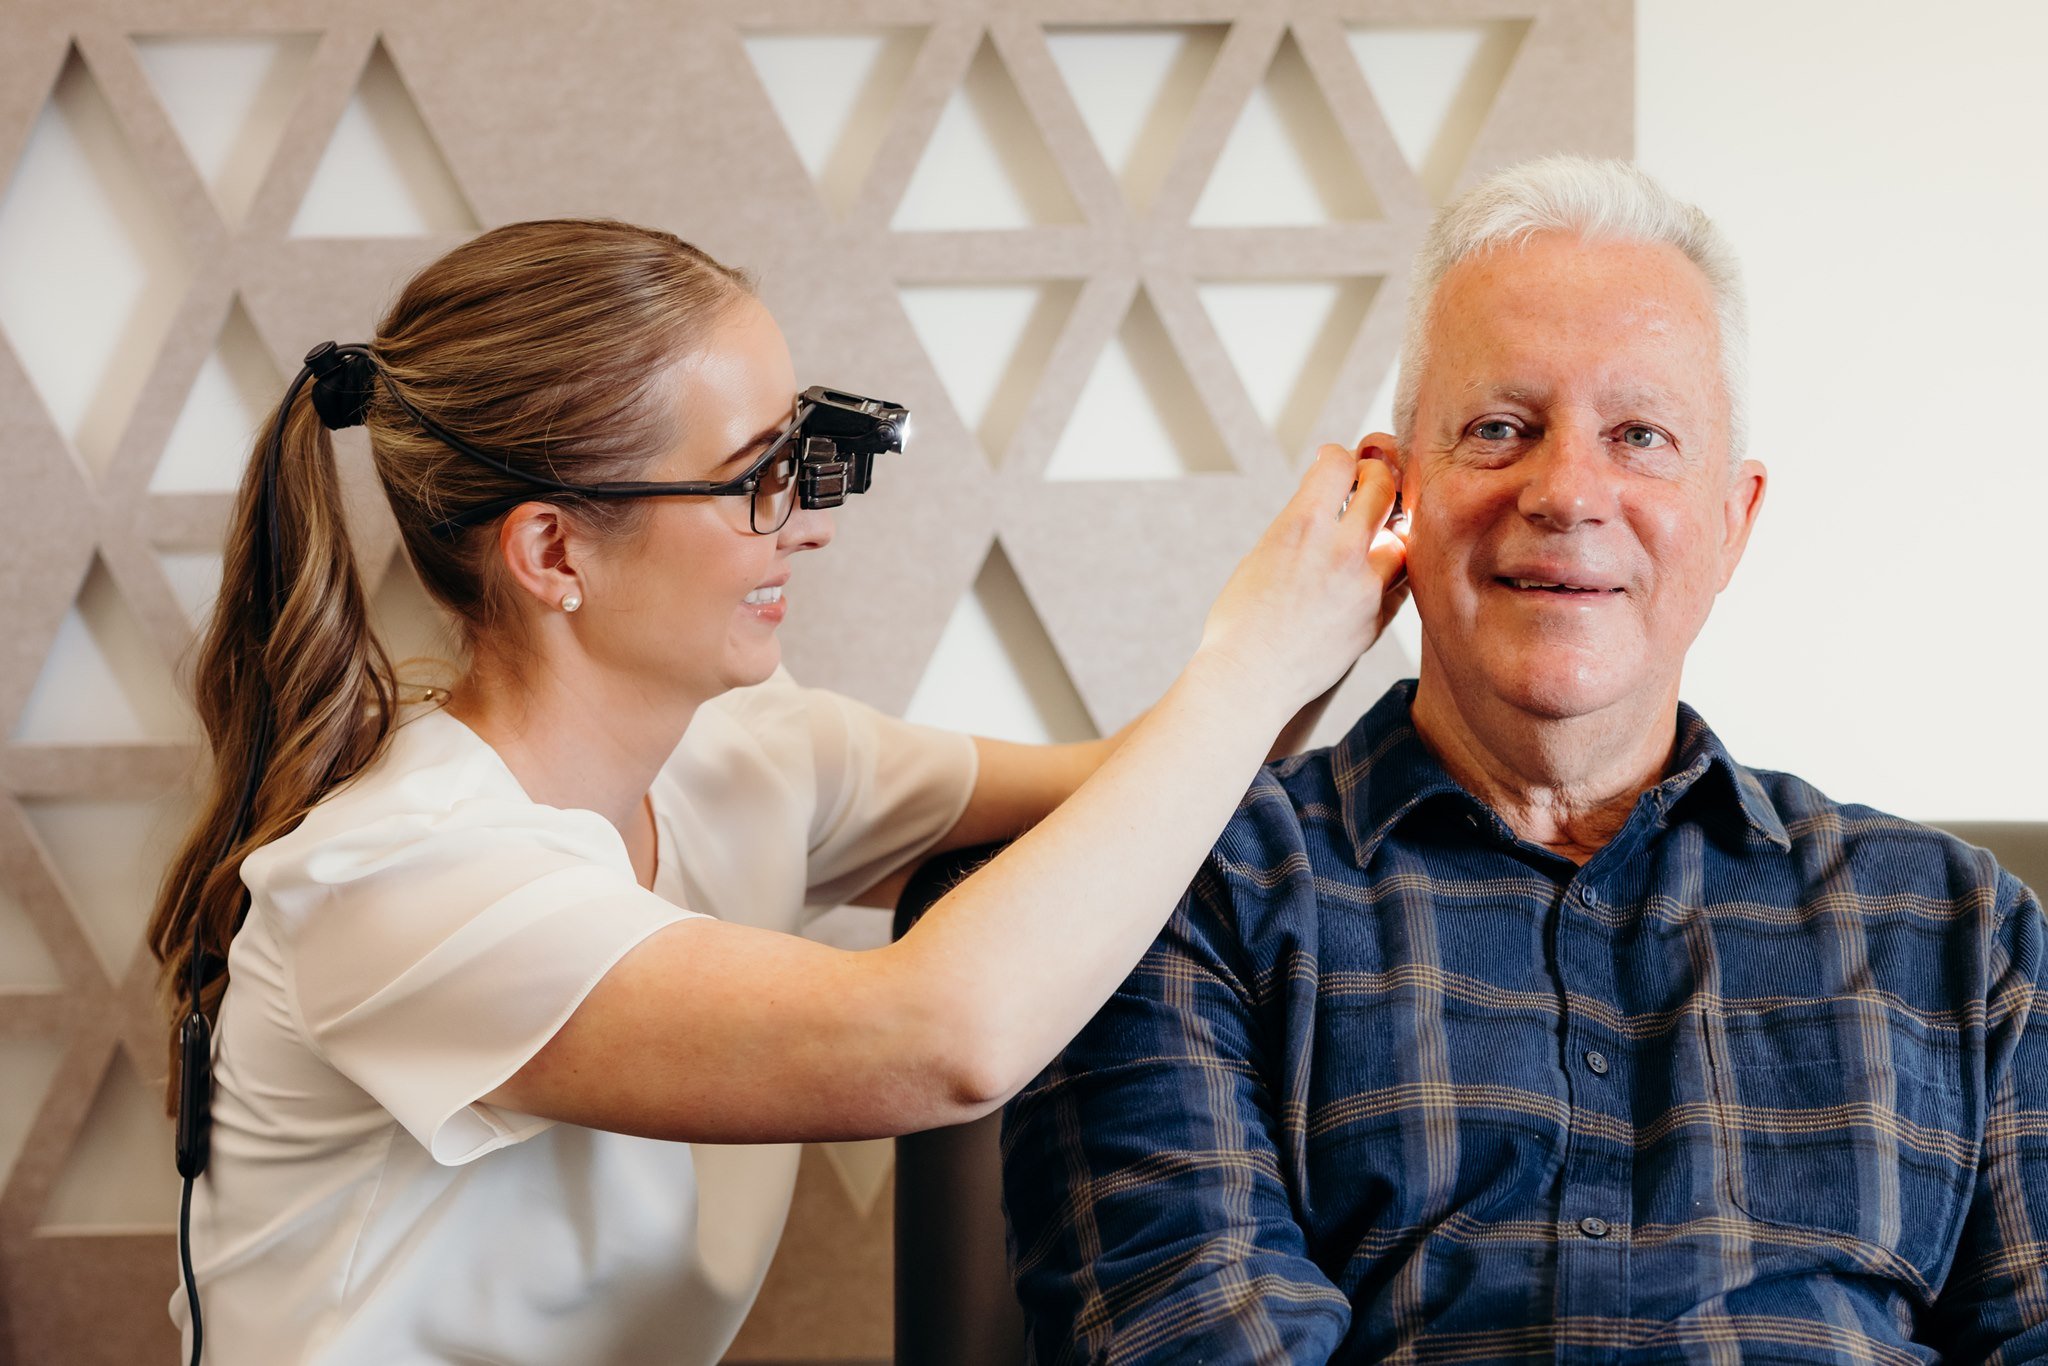
If you know you have a build-up of excessive earwax (medically known as 'cerumen impaction'), we can safely and effectively remove this for you at Hobart Hearing Care. We remove the earwax using microsuction under direct observation using a special pair of magnifying binocular glasses. Microsuction is considered best practice for earwax removal, and does not involve syringing fluid into the ear (ear irrigation). We recommend softening the earwax for several days prior to your appointment, by using a couple of drops of olive oil in the affected ear(s), for easy and comfortable removal.
Our In-House Earwax Removal Process
Before Your Appointment: Soften Earwax Using Olive Oil Drops.
Before you come in, we recommend using a few drops of olive oil in the affected ear(s) to soften the earwax for the 3 nights leading up to your appointment. The oil helps to break down hard wax, and turn it into a much more flexible form of wax that is easier to remove and more comfortable for you.
Step 1: Hearing and Ear History
Once you arrive, you will be seated with one of our audiologists who will discuss any relevant medical history and current ear issues with you. This helps us to tailor our procedure based on your needs.
Step 2: Outer Ear Canal Examination
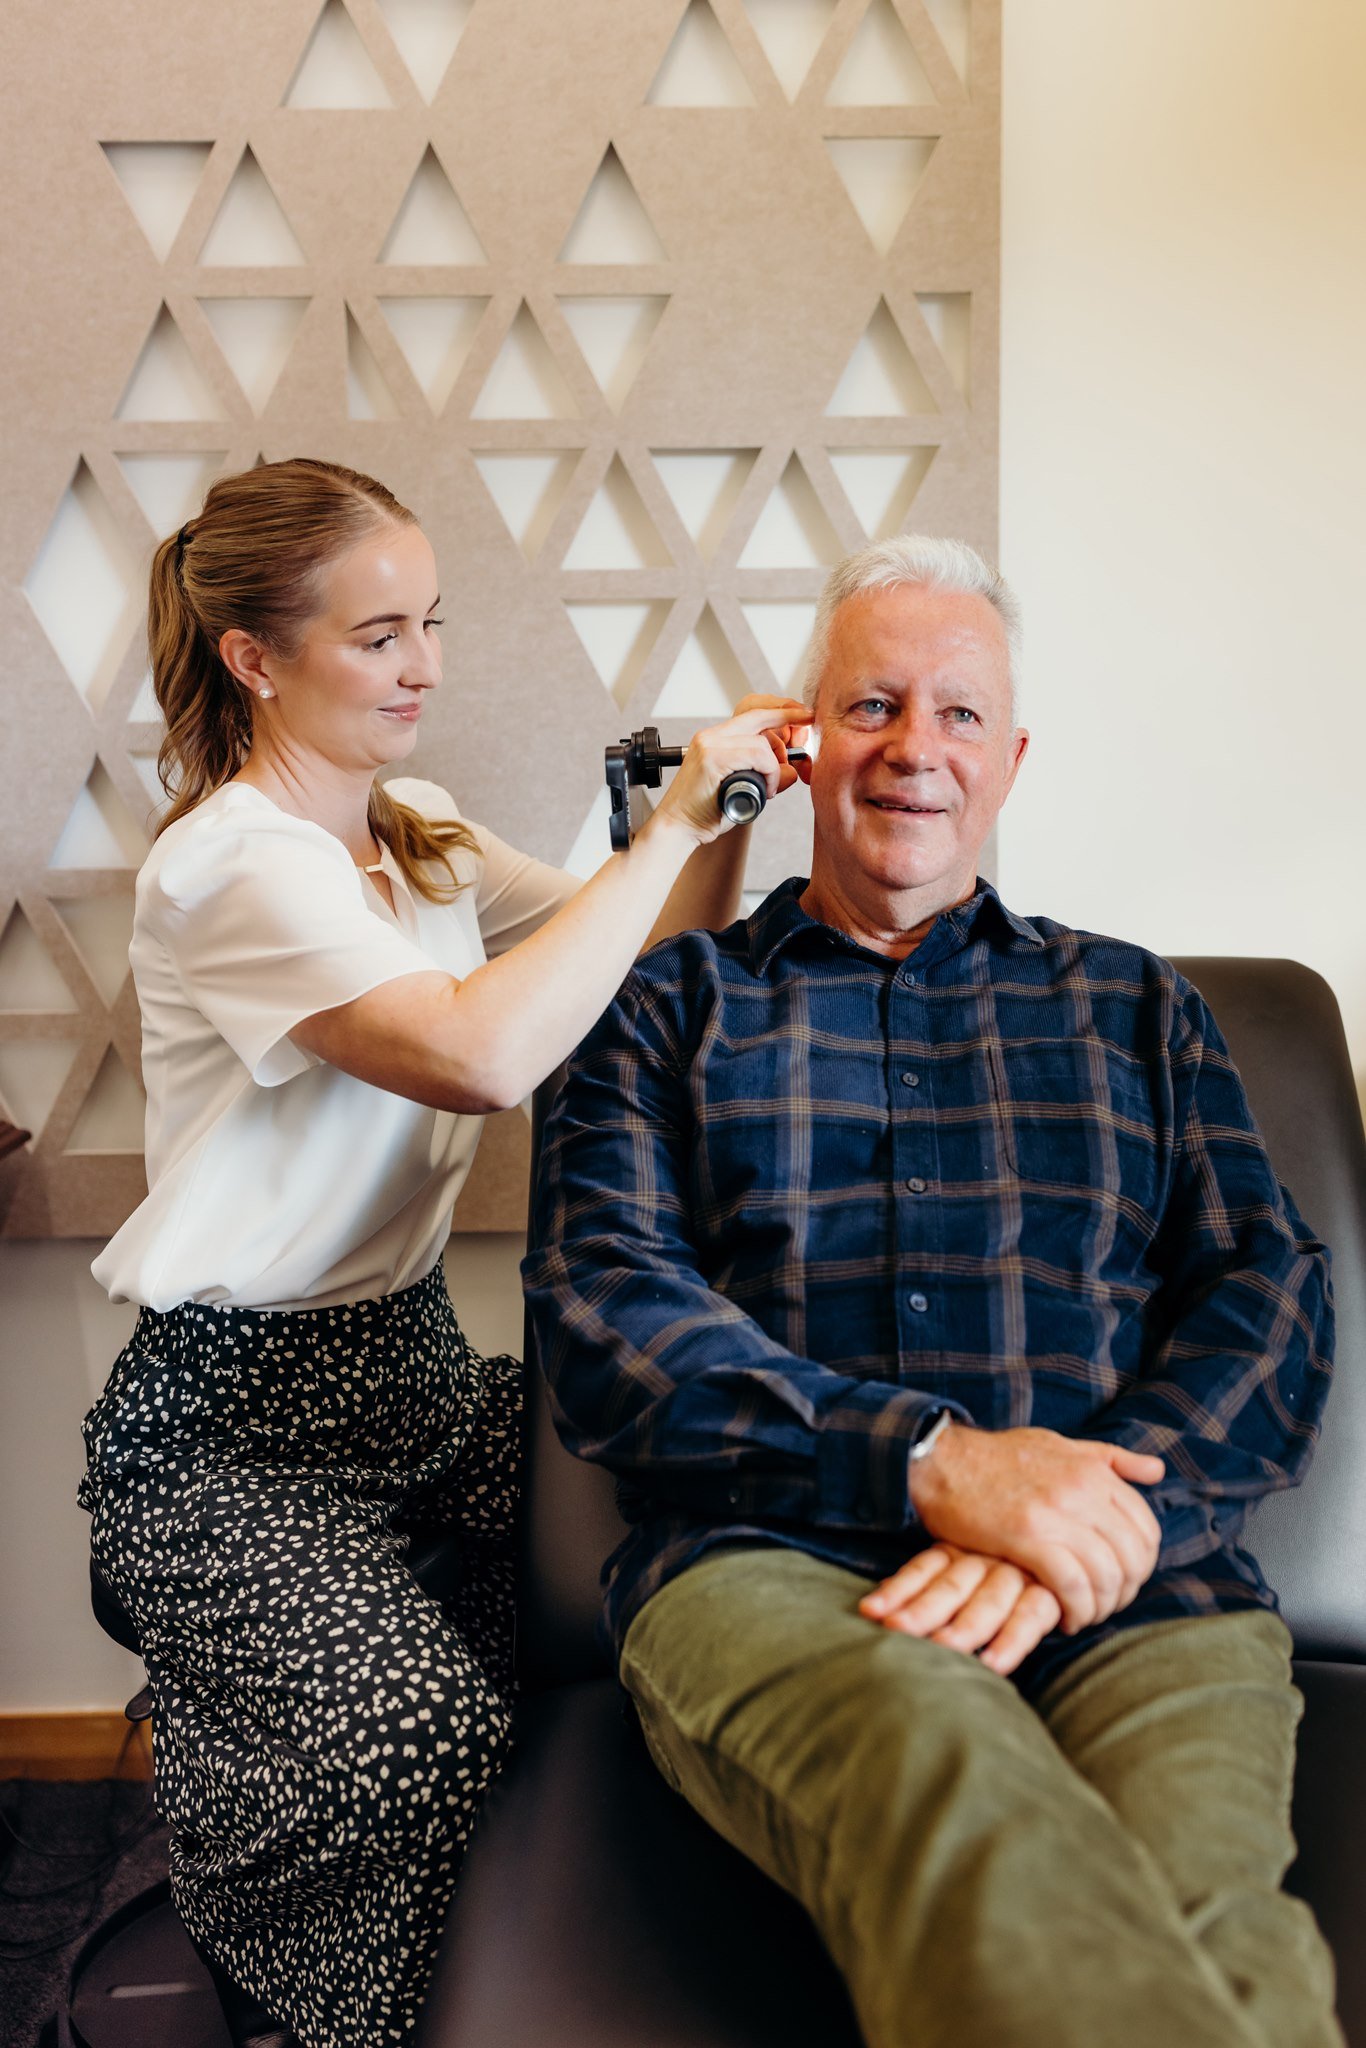
We then conduct a thorough examination of your ear canal. With specialised equipment, we are able to show you on the computer screen what is happening in your ear canal, and create a plan for earwax removal and ongoing ear care.
Step 3: Microsuction Removal
Microsuction is our preferred method when it comes to ear canal cleaning. This process includes the gentle extraction of soft earwax through a very small suction catheter that is connected to a tube for disposal; much like a miniature vacuum cleaner. Throughout the process, the audiologist will use an 'O-scope' (a magnified lens) to directly observe your ear canal and drum the entire time. From time to time, we may also deem it more appropriate to use manual earwax removal tools, such as alligator forceps (which are a type of small tweezer) or a curette (a small loop on the end of a handle). Additional softening drops may be required during the earwax removal process, if it is proving difficult to move. Your audiologist will let you know if changing to one of the manual tools or applying additional drops to your ear canals.
Step 4: Final Examination and Ongoing Plan
Following the procedure, the audiologist will re-examine the ear using the video otoscope, so they can show you the results and provide some education on maintaining healthy/clear ears at home on a day-to-day basis.
Frequently Asked Earwax Removal Questions
-
Earwax removal is a procedure to clear excessive earwax or earwax buildup that may be blocking your ear canal. Regular earwax removal can prevent hearing loss, ear pain, and potential ear infections caused by impacted cerumen (the medical term for earwax).
-
Symptoms of earwax blockage include ear pain, difficulty hearing, a feeling of fullness in the ear, or dizziness. If you suspect something may be wrong, it’s important to visit a healthcare professional for safe earwax removal.
-
No, using cotton swabs or other objects to clean your ears can push wax deeper into the ear canal, increasing the risk of earwax blockage or even damaging the eardrum. Instead, it's safer to use ear drops or visit a professional for earwax removal.
-
At Hobart Hearing Care, we primarily use microsuction to remove earwax, which involves suctioning ear wax from a person's ear under magnified observation. Softening ear drops may be used to soften the wax before the removal of hard earwax. Softening an earwax blockage using oil prior to your appointment is highly recommended before your appointment, as this helps with the removal process.
-
In the case of people whose ears are completely blocked by wax, the wax can stop sounds from reaching the eardrum. Having this earwax removed can significantly improve the hearing if this is the case. However, if there is any space around the earwax (even a small gap) the sound should be able to get through to the eardrum, in which case, having the earwax removed may not result in any improvement to the hearing. , If you already have some hearing loss and use hearing aids, earwax buildup can also interfere with hearing aids, causing feedback or reduced performance. Regular earwax removal is recommended for hearing aid users who are prone to earwax buildup to ensure clear sound and proper function of their devices.
-
Ear candles and ear candling are not recommended as there is no evidence they actually remove earwax. They can also cause more harm than good, including burns or pushing the blockage deeper into the ear canal. Using olive oil or other wax softening/removal drops at home can help to break the wax down, but if there is a large amount of earwax, it is still often necessary to have it removed by a professional, as it is unlikely to slide out after using drops alone.
-
To prevent earwax buildup, avoid inserting objects like cotton buds into your ears. Instead, keep your ears clean with gentle ear cleaning in the shower, using ear drops when necessary and scheduling regular ear check-ups if you are prone to earwax buildup.